
ここで使ったUiPathなどの条件は次のとおりです
UiPath Studio 2023.12.0 Community Edition
UiPath.Automation.Activities v23.10.8
はじめに
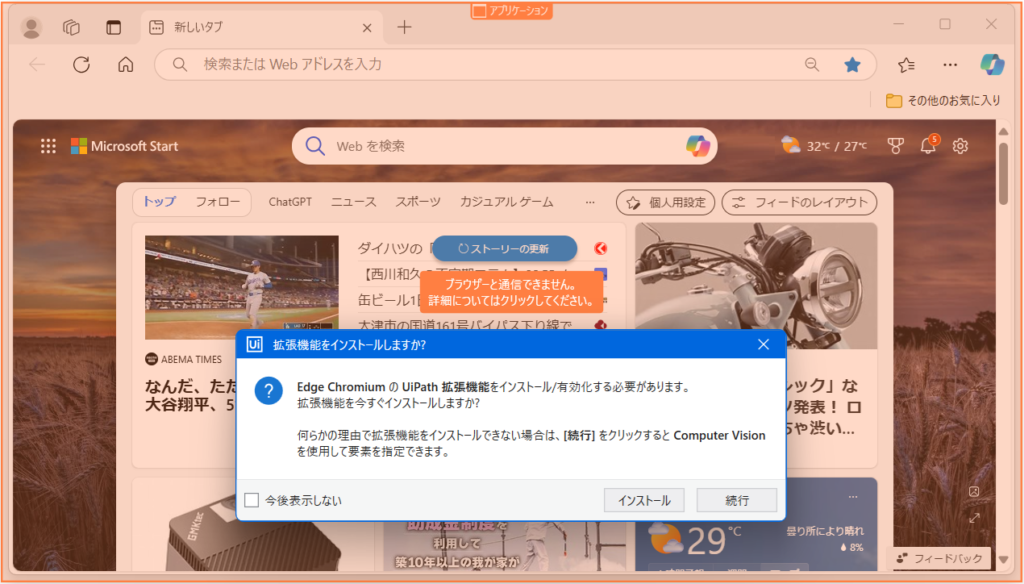
UiPathでEdgeを操作するにはまずUiPath Studio内での設定とEdgeへの拡張機能登録を行わないといけません。
実際に上記の登録なしにターゲット指定しようとすると本来グリーンであるはずの要素選択枠がオレンジになり、拡張機能をインストールする旨のダイアログが表示されます。
インストールの実行
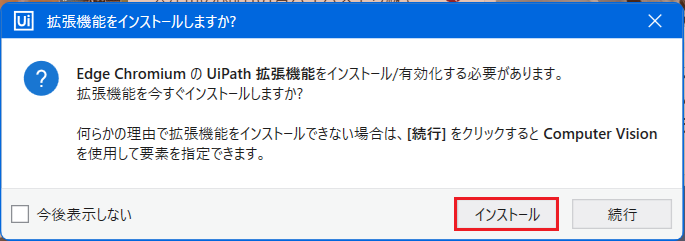
では、インストールをはじめていきます。ダイアログの[インストール]をクリックします。
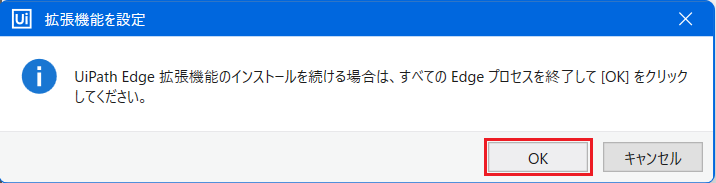
処理を進めるため、起動中のEdgeを終了するよう求められるので、Edgeを終了して[OK]をクリックします。
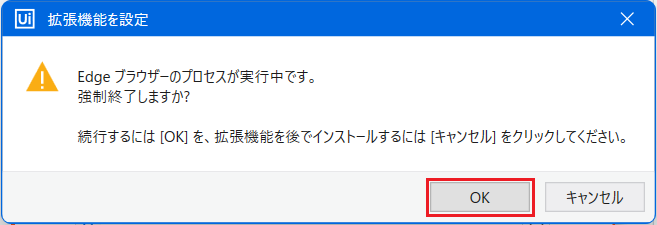
一部プロセスが残っている場合には以下のダイアログがでるのでそのまま[OK]をクリックします。
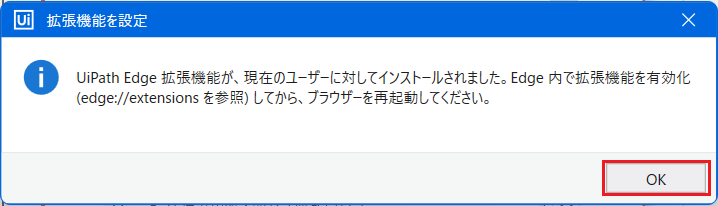
数秒でインストールが完了して、以下のダイアログが表示されるので[OK]をクリックします。
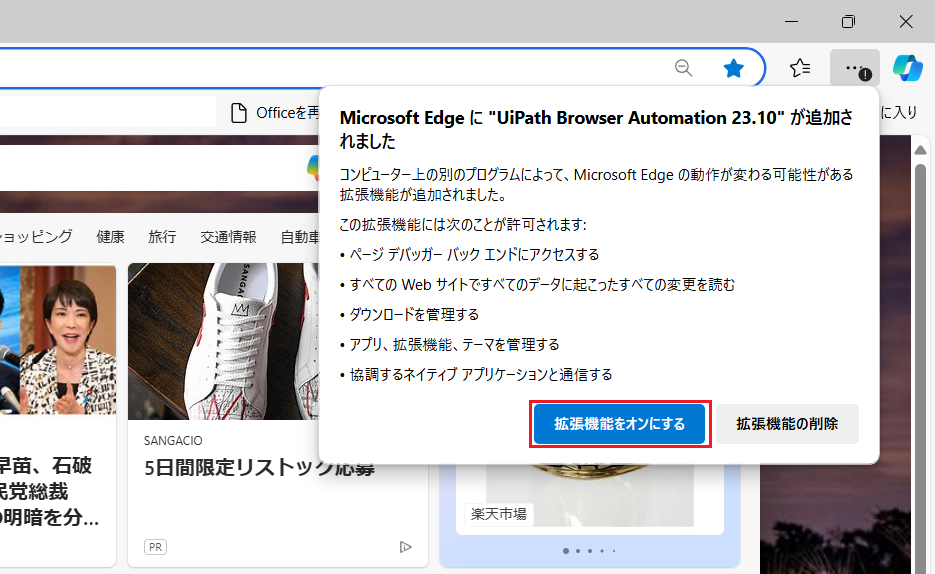
次にEdgeを起動すると下のようにEdgeへの拡張機能追加の通知がされるので、[拡張機能をオンにする]を選択します。
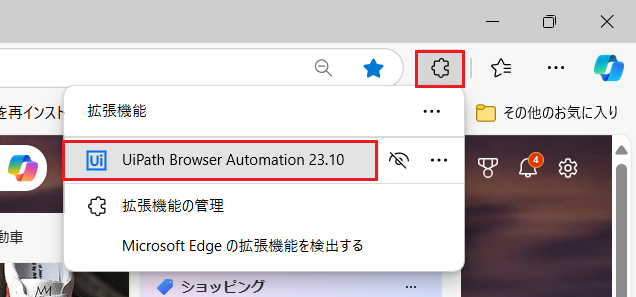
Edgeの拡張機能をクリックすると、[UiPath Browser Automation]が追加されていることがわかります。ここで、Edgeを再起動します。
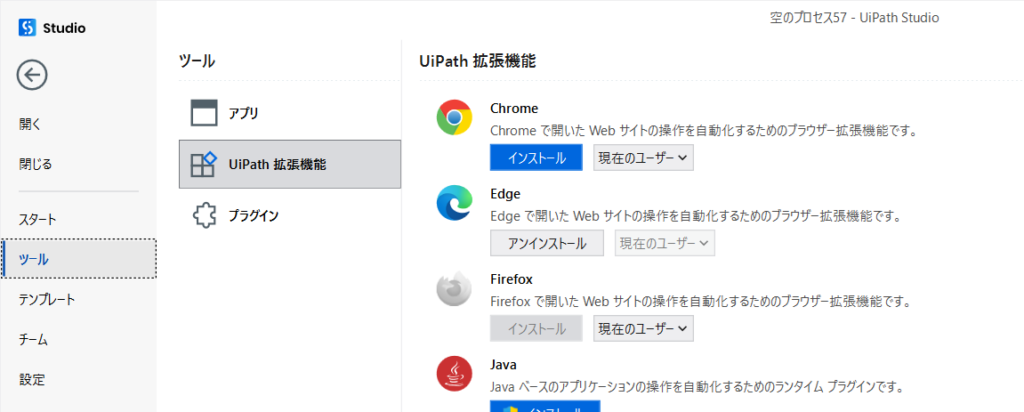
UiPath内の拡張機能をみるとEdgeの他、ChromeやFirefoxの拡張機能もある様です。
では実際にEdgeの操作をしていきましょう。
UiPathでMicrosoftEdgeを動かす(操作編)
をご参照ください。

コメント